")
Hieroglitch Pyramid is the first level that you’ll face in the Camo Cosmos system in Astro Bot, and it’s a tricky level to get through. As the name suggests, it’s an Egyptian-themed mission that features a variety of collectibles for you to find, from bots to Puzzle Pieces to even secret exits.
RELATED: Astro Bot: Where To Find All Eight Ravens In Bot Of War (Eyes Of The All-Father)
If you’re aiming for 100% completion, then you’ll need to find these collectibles. Just like almost every other stage, the Hieroglitch Pyramid consists of seven bots to rescue, three Puzzle Pieces to find, and a secret exit to get through. So, here’s a complete Hieroglitch Pyramid Astro Bot walkthrough to help you complete this level.
Hieroglitch Pyramid Bot #1
The first bot of the stage is located inside a sarcophagus, which you can find at the very beginning of the stage on the right.
Hieroglitch Pyramid Bot #2
Progress along the main path, and you’ll find yourself crossing a bridge full of enemies, which will collapse and take you to the next checkpoint. From here, simply continue ahead until you come across a circular platform with a blue X on it.
Charge Astro’s fists by holding Square and releasing it to perform a spinning punch that will take you to an underground secret area. The second bot will be present here.
Hieroglitch Pyramid Bot #3

Progress further until you arrive at the part with the big pounding metal boxes. When you reach the third one, you’ll notice three vase-like objects behind it. Break them and then perform a spinning punch to burrow inside the ground.
The third bot based on Lara Croft from the Tomb Raider games will be here, but move very slowly and carefully so as to not awaken the sleeping metal blocks.
Hieroglitch Pyramid Puzzle Piece #1

Shortly after you receive the hamster suit power-up, which lets Astro turn into a metal ball and just roll over, you’ll find the stage’s first Puzzle Piece. Progress along the main path, but instead of going outside from the small hole on the left, continue along the path, and you’ll find the Puzzle Piece floating on some spikes.
Hieroglitch Pyramid Puzzle Piece #2
Once you’ve collected the first Puzzle Piece, go outside, but instead of going along the main path, go left and roll through the small hole in the wall. Inside, you’ll find a chest that contains the second Puzzle Piece of the stage.
Hieroglitch Pyramid Bot #4
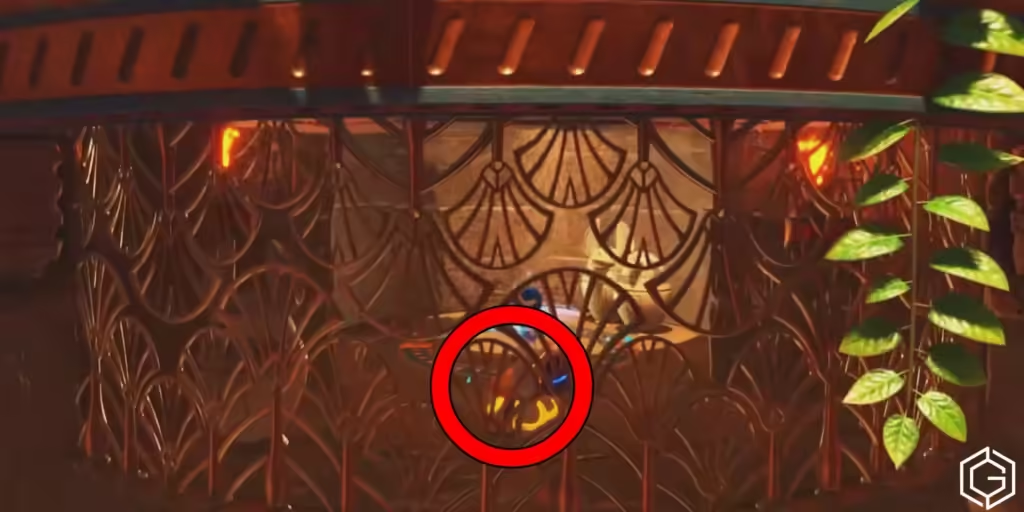
After you’ve collected the second Puzzle Piece, go back outside and head right. You’ll notice some black boxes in front of you. Destroy them by jumping on them while you’re a metal ball, and you’ll be able to reach the area above where you’ll find the fourth bot of the stage hanging from a rope, waiting to be rescued.
Hieroglitch Pyramid Bot #5
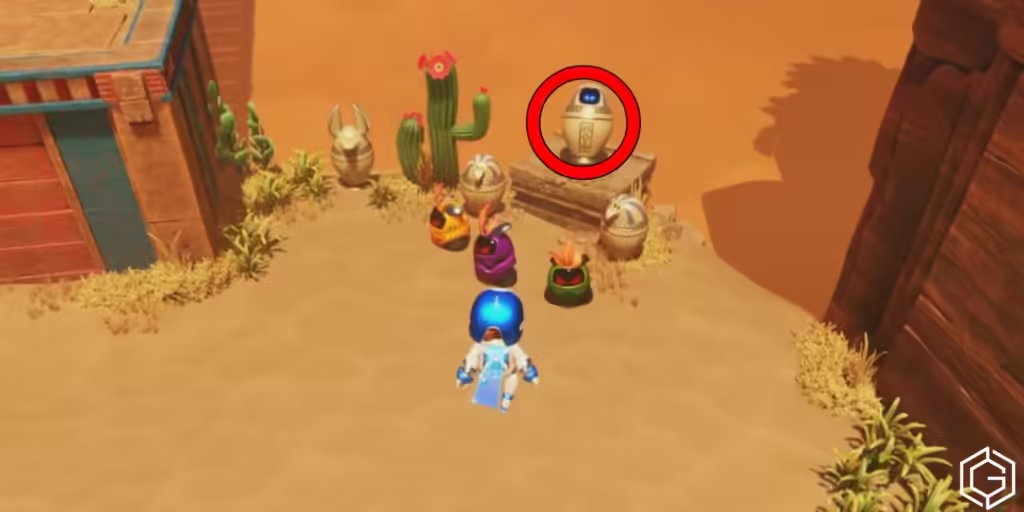
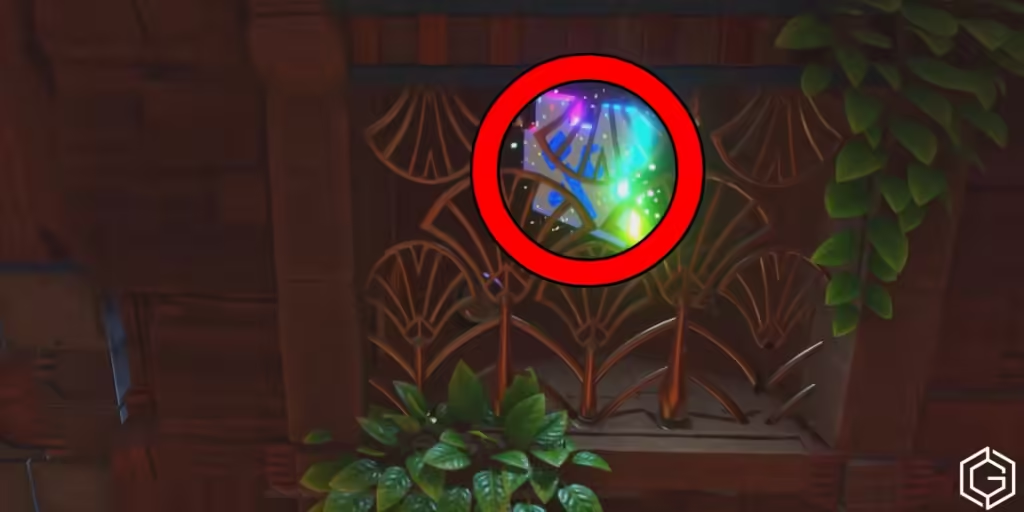
Progress along the main path until you come face-to-face with the green vacuum enemies. Once you’ve defeated the second one, go left and drop down the ledge, where you’ll find a row of glowing green tiles. Find the correct tile and push it to reveal a secret area where the fifth bot is located, trapped inside a vase. Break the vase to save the bot.
Hieroglitch Pyramid Puzzle Piece #3
After saving the fifth bot, go back along the main path and continue until you reach the next checkpoint with the metal spikes near it. Use Astro’s ball form to pass through the spikes and avoid getting decimated by the pounding metal blocks.
Then hop onto the bounce pad near you in ball form to go up. From here, don’t go left, but instead, roll right, and once the third metal block slams down, roll inside the small hole on the right to collect the third and final Puzzle Piece of the stage.
Hieroglitch Pyramid Bot #6
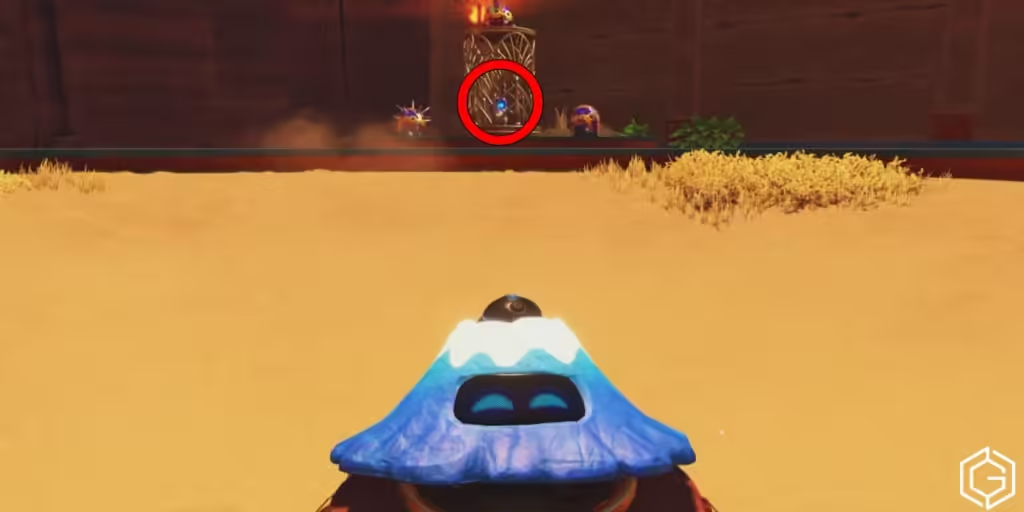
Continue along the main path and use the volcano to reach the next area. But here, don’t use the volcano just yet, as the bot is locked up in a cage just on a platform near it. Wait until the volcano points towards the cage, then use it to get to the platform and break the cage, thus rescuing the sixth bot in the process.
Hieroglitch Pyramid Bot #7
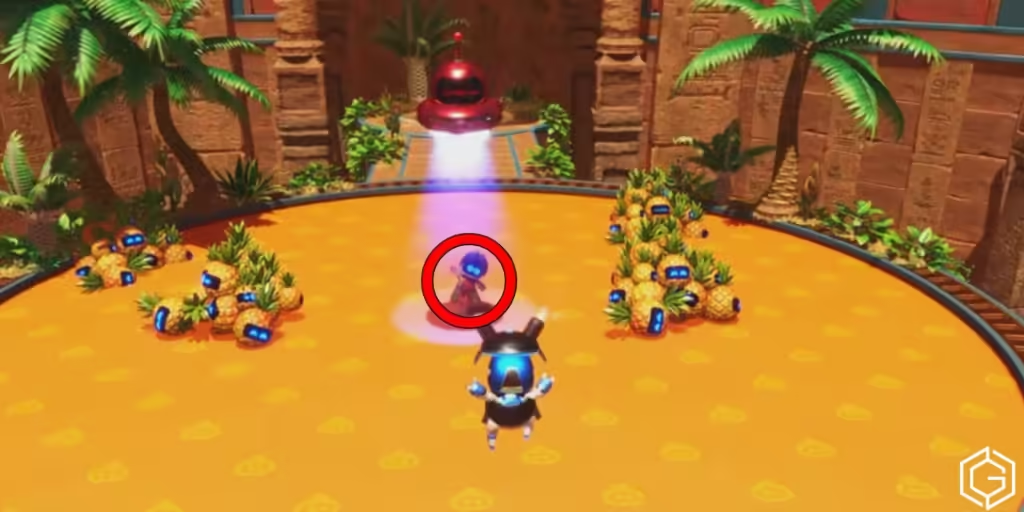
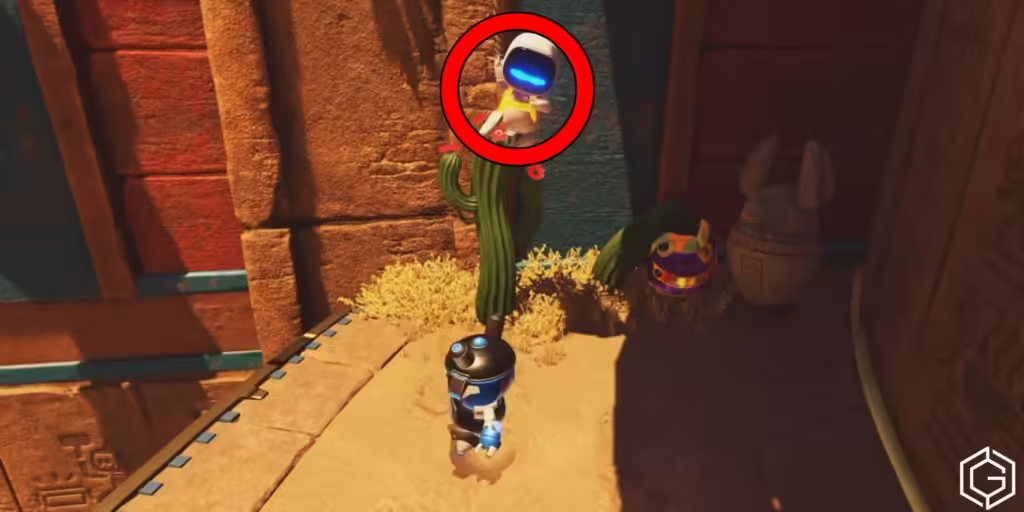
The seventh and final bot of the stage is located at the end of it, so head along the main path until you’re transported to a completely new area by a volcano. Here you’ll notice a giant yellow trampoline in front, and as soon as you go there, the final bot will be beamed up by a red flying bell-like enemy. All you need to do is jump and defeat it to rescue the seventh bot, who is based on the protagonist from Suikoden.
Hieroglitch Pyramid Lost Galaxy Warp Portal / Secret Exit
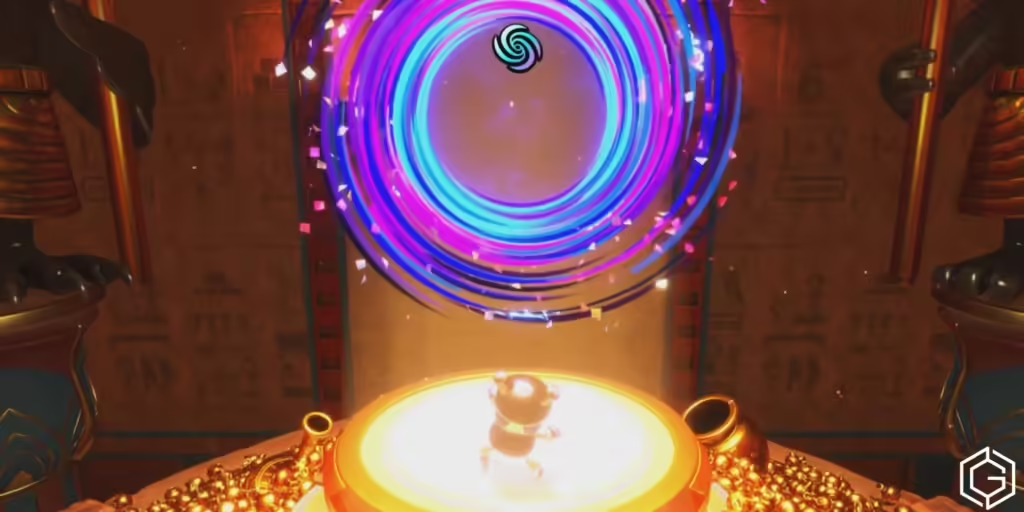
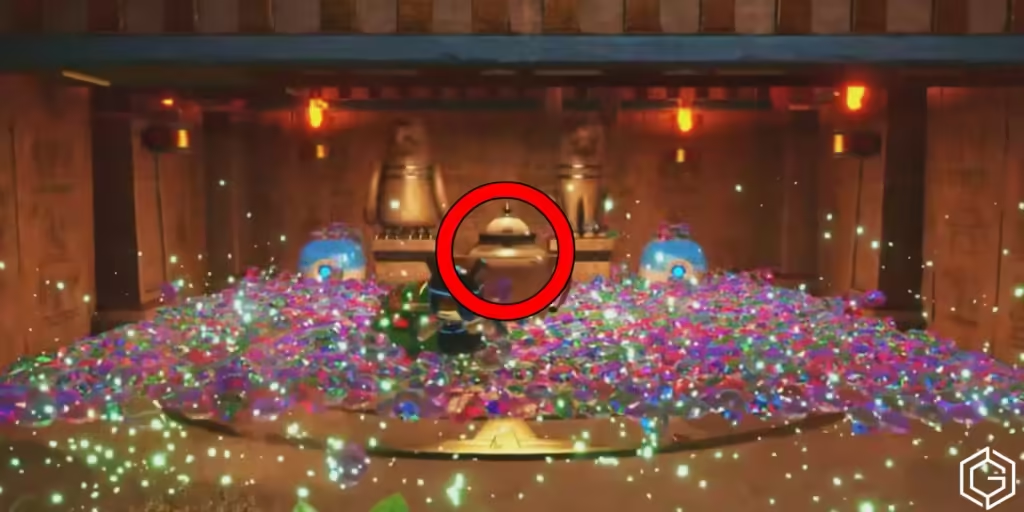
The secret exit is located at the very end of the stage. Head along the main path and you’ll come across a section where you’ll have to slide down platforms containing spikes. Once this section’s over, you’ll see the main exit in front filled with gems. But from here, go right to the platform hugging the wall.
Clear out the gems here by spinning and then jump on the ground in ball form to spring up and push the right green tile to unlock the secret exit room. Now you’ll have to beat a trap in which you’ll have to push those green tiles in time. Once you’re done with it, pull the cable under the planet to activate the portal, and you’re golden.
1 Comment
Pingback: Downsize Surprise Astro Bot Walkthrough