The Night Springs DLC from Alan Wake 2 offers bite-sized what-if episodic scenarios set in the Remedy universe to players. While the episodes aren’t canon to the story of the base game, they still feature familiar faces from the game and expand on their characters.
The second episode of the DLC called “North Star” features Control’s Jesse Faden (referred to as The Sibling here) as she makes her way through Coffee World in search of her brother. Similar to the base game, this episode contains Stashes that can be unlocked for some goodies. Here’s how to find and open them all.
All Stash Locations In Alan Wake 2 Night Springs
There are overall six Stashes in Night Springs that players can find, and thankfully, all of them are located near the gazebo where the Sheriff is present. Without further ado, here’s a list of all the locations of stashes in Night Springs and how you can find them:
| Item | Location |
|---|---|
| Stash 1 | Front of the Gazebo. |
| Stash 2 | Near the out-of-service coffee cup ride |
| Stash 3 | Near the Welcome Center in Night Springs. |
| Stash 4 | Behind the Tasting Room/Gift shop. |
| Stash 5 | Near the Ferris wheel. |
| Stash 6 | Outside the Coffee Warehouse. |
If you want the exact locations of these stashes, you can find all of them below.
First Stash Location
The first stash will be right in front of the gazebo. Facing the gazebo, turn around and you’ll notice a white building on the right. Go behind it and you’ll find the stash.
Second Stash Location
The second stash is located near the out-of-service coffee cup ride. Head to the entrance of the Welcome Center and then turn to the right. You’ll find the stash on the left of the inaccessible ride, behind a rock.
Third Stash Location
The third stash is located near the Welcome Center. Turn left from the entrance of the Welcome Center and stick to the path on the right. You’ll eventually come across a shack where the stash will be.
Fourth Stash Location
The fourth stash is located behind the Tasting Room/Gift shop. Go left of the Ferris wheel and you’ll come across the fish-themed play area. The stash will be located right beside a big cup. Expect some resistance as the area is filled with Taken so make sure that you’re loaded up on ammo and flashlight batteries.
Fifth Stash Location
The fifth stash is located near the Ferris wheel. Head to the Ferris wheel, then turn left from its control mechanism and follow the path to its end. You’ll find the stash located behind a portable toilet.
Sixth Stash Location
The final stash is located outside the Coffee Warehouse. Make your way to the Coffee Warehouse and you’ll find the stash on the left behind a red car.
How To Open Unlock Stashes
To open the stashes, you need to solve the puzzle first. Each of these stashes has a lock, which includes nine buttons arranged in a three-by-three manner. These buttons will flash in a specific order, and what you need to do is memorize the order and input it correctly to unlock the stash.
The pattern will differ from stash to stash, and some might be a little bit more complex than others but if you can memorize them well, you won’t have any problem unlocking them. There’s no penalty for failing to input the pattern correctly, so you can try without hesitation.
Once you enter the warehouse, you cannot go back as it marks a point of no-return, so make sure that you don’t miss any stash before that point. NOTE
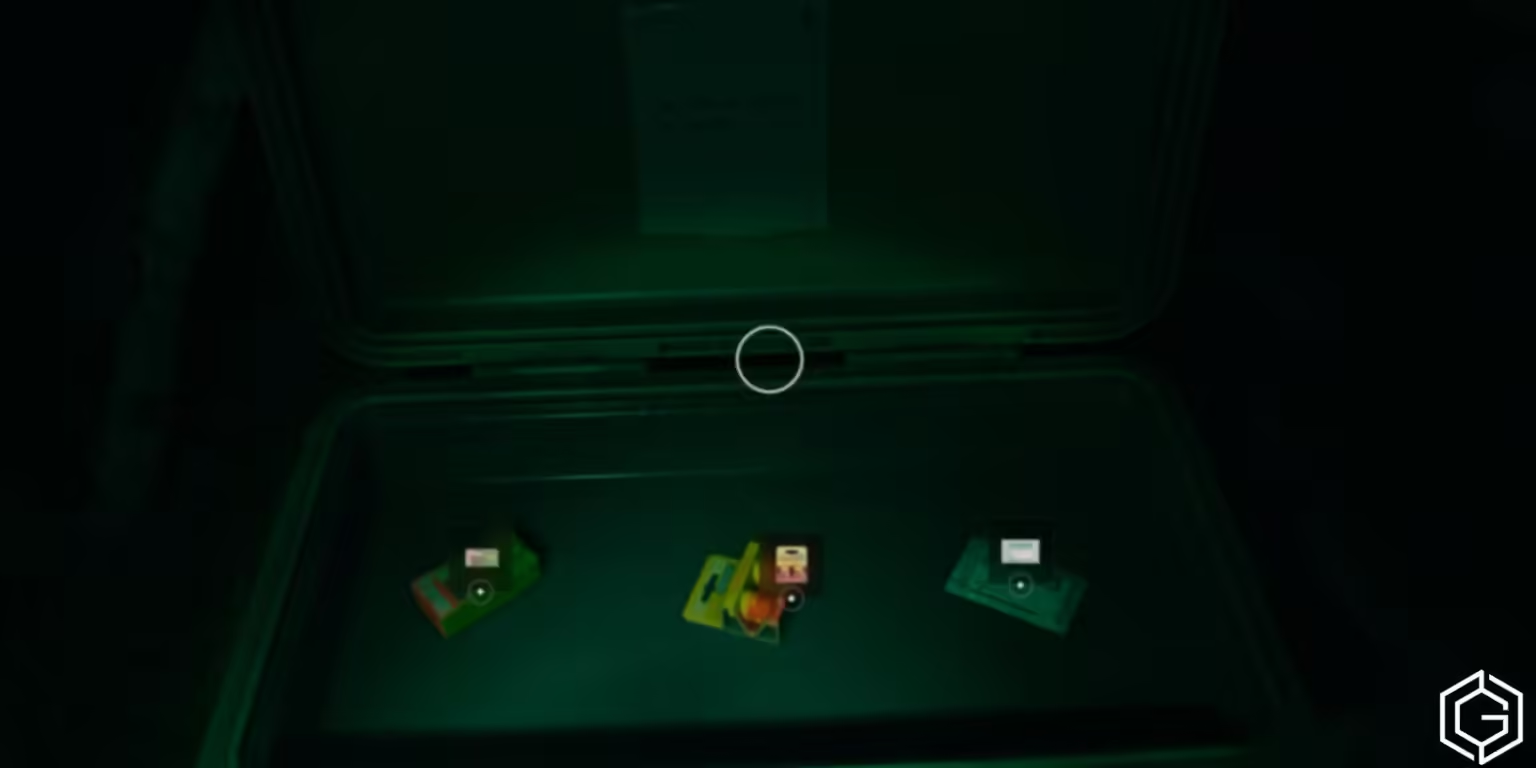
Each stash contains a box of handgun ammo, flashlight batteries, and at least one Trauma Pad. These supplies will help you overcome every obstacle in North Star, and opening all these stashes will also unlock the Percolate Trophy / Achievement.

1 Comment
Pingback: Alan Wake 2 Night Springs Episode 3 Time Breaker Guide